Instructions for use
Here you will first find general instructions for use that apply to all types of mechanical watch movements, as well as movement-specific instructions that need to be considered.
General information
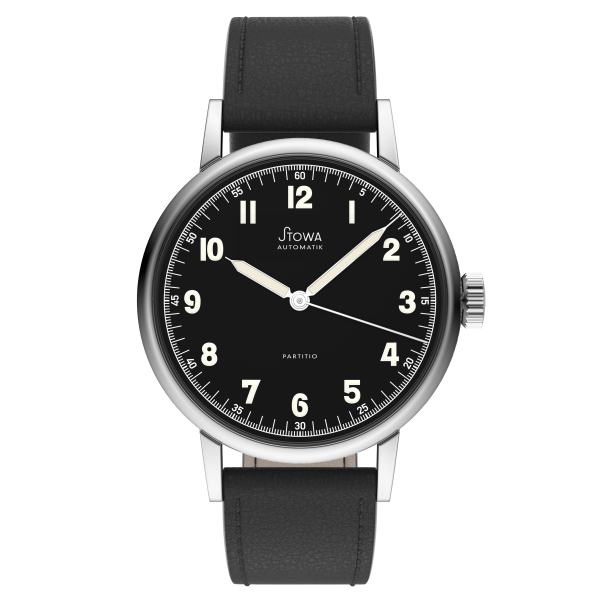
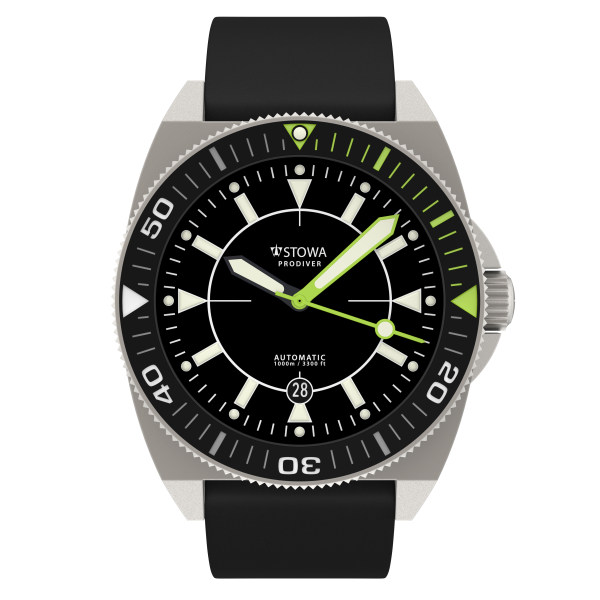
If you want to make adjustments to your watch, first remove the watch from your wrist. If possible, always use both hands to wind or adjust your watch. This will give you a better feel for the mechanical processes inside the watch.
3-hand automatic watches
If the crown is at the smallest possible distance from the watch case, it is also the first crown position (if the crown is not a screw-down crown). This is used to wind the watch.
If you wear your watch with automatic winding on a daily basis, it should not be necessary to wind it manually, provided there is sufficient movement. The automatic winder is efficient enough to fully wind the mainspring of the watch, so that even taking the watch off overnight will not cause it to stop. When the watch is put on again the next morning, the automatic winding system ensures that the mainspring of your watch regains its full tension during the course of the day by moving it on your wrist.
However, if your watch does not move for longer than the movement manufacturer intended, the movement will sooner or later come to a standstill. Of course, you then also have the option of winding your watch manually. To do this, move the crown back and forth between two fingers in the first crown position. You will notice that, after a few turns of the crown, winding may be a little more difficult, but there seems to be no end to it. This is not a cause for concern, but a design feature of most automatic watches. Since the rotor of an automatic watch does not stop moving even when fully wound, the movement manufacturer has taken precautions to prevent the mainspring from tearing or other damage that could occur if an already wound mainspring is wound further. To fully wind a Stowa automatic watch by hand, 20 - 30 turns of the crown are therefore sufficient. Fewer turns are of course also fine. If the watch is then worn, the automatic system will do the rest.
Once you have set the movement of your watch in motion, the next step is to set the time. To do this, pull the crown out to the outermost crown position and the movement will stop. If you want to set the time to the second using a radio-controlled watch, for example, it is advisable not to stop the watch until the second hand has reached the 12 o'clock position.
Watches without a date can now be set. If it is important for the seconds and minutes to run synchronously, it is advisable to set the time counter-clockwise. To do this, first set the watch clockwise, moving the minute hand a few minutes past the desired time and then setting it counterclockwise to the next minute. To set the time to the nearest second, wait until the radio-controlled watch displays the time set on your wristwatch. When this time is reached, the crown is pressed against the case at the full minute. The watch starts running again and is set to the second.
If your watch has a date function, the first thing to do is to find out whether the watch is currently showing the time for the morning or the afternoon. To do this, pull the crown out to the outermost crown position. Proceed as described above to set the watch to the exact second. Now adjust the time clockwise until the date display switches to the next day. You now know when it is midnight on your watch, with a tolerance of five minutes before or after midnight. Now set the correct time and then push the crown back onto the case of your watch so that the watch starts up again.
All three-hand watches from STOWA that are equipped with a date function always have the option of correcting the date via a quick adjustment. This is done via a third crown position, which is located between the winding position and the position for setting the time. Do not adjust the date display if a time between 9 p.m. and 3 a.m. is displayed on your watch. During this period, the movement itself is in the process of advancing the date by one day. Using the date quickset function during this period could damage the mechanism.
To set the date display to the correct date, carefully pull the crown again until you feel a click. The crown is in the correct position when the distance between the crown and the case has visibly increased, but the watch is still running. If you now turn the crown in the right direction, the date displayed can be adjusted. Turned in the other direction, the crown runs freely. Once the date display has been set to the correct day, push the crown back towards the case.
Your watch is now fully set.
If your watch has a screw-down crown, it must be screwed back onto the crown tube to protect the crown from shocks and to ensure water resistance. The following applies: first push, then turn. First carefully push the crown towards the tube to give the clutch inside the crown a chance to separate cleanly. Only then screw the crown clockwise onto the tube.
3-hand handwound watches
If the crown is at the closest possible distance from the watch case, this is also the first crown position. This is used to wind the watch.
Although the manufacturers of the movements in our watches specify a significantly longer running time than 24 hours, in order to keep the rate deviations of your watch as small and consistent as possible, it is nevertheless recommended that you wind your watch daily if you use it every day. Wind the mainspring of the watch by moving the crown back and forth between two fingers. You may notice that the crown of your watch wants to make a small movement in the opposite direction after each movement in the winding direction. This is due to the design and is no cause for concern. Wind your watch until you feel a clear resistance at the crown. Your watch is now fully wound. To avoid damaging the movement, refrain from further attempts to wind the watch at this point. The number of movements required to reach this point can vary depending on the watch model, but also depending on how the watch is handled by the watch owner, and depends, for example, on the movement installed, the circumference of the crown or the clarity with which the winding movements are carried out.
Once you have set the movement of your watch in motion, the next step is to set the time. To do this, pull the crown out to the outermost crown position. Watches without a stop-second function continue to run even when the crown is in the outermost position. However, if your watch is equipped with a stop-second function, the movement will now stop. If this is the case, it is also advisable not to stop your watch until the second hand has reached the 12 o'clock position in order to subsequently set the watch to the exact second, e.g. with the aid of a digital watch.
Watches without a date can now be set. If it is important that the seconds and minutes run synchronously, it is advantageous to set the time anti-clockwise. To do this, first set the time clockwise, moving the minute hand a few minutes past the desired time and then setting it counterclockwise to the next minute. To set the time to the nearest second, wait until the radio-controlled watch displays the time set on the watch. When this time is reached, the crown is pressed against the case at the full minute. The watch starts running again and is set to the second.
If your watch has a date function, the first thing to do is to find out whether the watch is currently showing the time for the morning or the afternoon. To do this, pull the crown out to the outermost crown position. Proceed as described above to set the watch to the exact second. Now adjust the time clockwise until the date display switches to the next day. You now know when it is midnight on your watch, with a tolerance of five minutes before or after midnight. Now set the correct time and then push the crown back onto the case of your watch so that it starts up again.
All STOWA three-hand watches that are equipped with a date function always have the option of correcting the date via a quick adjustment. This is done via a third crown position, which is located between the winding position and the position for setting the time. Do not adjust the date display if a time between 9 p.m. and 3 a.m. is displayed on your watch. During this period, the movement itself is in the process of advancing the date by one day. Using the date quickset function during this period could damage the mechanism.
To set the date display to the correct date, carefully pull the crown again until you feel a click. The crown is in the correct position when the distance between the crown and the case has visibly increased, but the watch is still running. If you now turn the crown in the right direction, the date displayed can be adjusted. Turned in the other direction, the crown runs freely. Once the date display has been set to the correct day, push the crown back towards the case.
Your watch is now fully set.
Instructions for three-hand watches with date
Chronographs
If the crown is at the smallest possible distance from the watch case, this is also the first crown position. This is used to wind the watch.
If you wear your watch with automatic winding on a daily basis, it should not be necessary to wind it manually, provided there is sufficient movement. The automatic winder is efficient enough to fully wind the mainspring of the watch, so that even taking the watch off overnight will not cause it to stop. When the watch is put on again the next morning, the automatic system ensures that the mainspring of your watch regains its full tension during the course of the day by moving it on your wrist.
However, if your watch does not move for longer than the movement manufacturer intended, the movement will sooner or later come to a standstill. Of course, you then also have the option of winding your watch manually. To do this, move the crown back and forth between two fingers in the first crown position. You will notice that, after a few turns of the crown, winding may be a little more difficult, but there seems to be no end to it. This is not a cause for concern, but a design feature of most automatic watches. Since the rotor of an automatic watch does not stop moving, even when fully wound, the movement manufacturer has taken precautions to prevent the mainspring from tearing or other damage that could be caused by continuing to wind a mainspring that has already been wound. To fully wind a STOWA automatic watch by hand, 20 - 30 turns of the crown are therefore sufficient. Of course, fewer turns are also fine. If the watch is then worn, the automatic system will do the rest.
Once you have set the movement of your watch in motion, the next step is to set the time. To do this, pull the crown out to the outermost crown position and the movement will stop. If your chronograph has a constantly running small second hand and you want to set the time to the second using a radio-controlled watch, for example, it is advisable to stop the watch only when the second hand is vertical at 60.
Watches without a date can now be set. If it is important for the seconds and minutes to run synchronously, it is advisable to set the time counterclockwise. To do this, first set the clock clockwise, moving the minute hand a few minutes past the desired time, and then set it counterclockwise to the next minute. To set the time to the nearest second, wait until the radio-controlled watch displays the time set on your wristwatch. When this time is reached, the crown is pressed against the case at the full minute. The watch starts running again and is set to the second.
If your watch also has a date function, the first thing to do is to find out whether the watch is currently showing the time for the morning or the afternoon. To do this, pull the crown out to the outermost crown position. Proceed as described above to set the watch to the exact second. Now adjust the time clockwise until the date display switches to the next day. You now know when it is midnight on your watch, with a tolerance of five minutes before or after midnight. Now set the correct time and then push the crown back onto the case of your watch so that the watch starts up again.
You can now set the date on your chronograph using the pusher on the left-hand side of the case. Please note, however, that the quick date adjustment should not be used if a time between 9 p.m. and 3 a.m. is displayed on your watch. During this period, the movement itself is in the process of advancing the date by one day. Using the date quickset function during this period could damage the mechanism.
To correct the date display, use a pointed object. A toothpick, for example, is recommended. It is sturdy and sharp enough to operate the pusher properly, but at the same time will not cause any damage if it comes into unintentional contact with the case when adjusting the date. Press the pusher into the case with your pointed object until the date display on your watch advances one day. Repeat the process until the correct day is reached. You will then have successfully set the date.
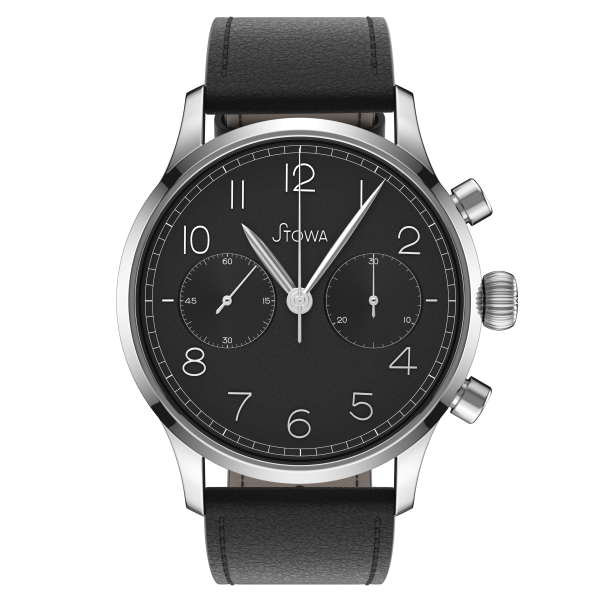
Your chronograph allows you to measure and display time spans of up to 30 minutes.
To start a measurement, press the pusher at two o'clock and the center second hand starts moving. After every minute that has elapsed, when the second hand crosses the 12 o'clock position, the small minute display jumps forward one division mark.
If you want to pause the measurement, for example to be able to read off a stopped time exactly, press the upper pusher again. The chronograph of your watch is stopped and you can read off the minutes counted up to that point on the sub-dial at three o'clock. The additional seconds stopped are read off using the index lines on the edge of the dial.
Pressing the upper pusher again continues the measurement.
However, if you want to start a new measurement or simply reset the chronograph to its original position, press the lower pusher at four o'clock while the chronograph is stopped and both chronograph hands will return to their original position.
A new measurement can be started.
➔ Winding the watch
If the crown is at the smallest possible distance from the watch case, this is also the first crown position. This is used to wind the watch.
If you wear your watch with automatic winding on a daily basis, it should not be necessary to wind it manually, provided there is sufficient movement. The automatic winder is efficient enough to fully wind the mainspring of the watch, so that even taking the watch off overnight will not cause it to stop. When the watch is put on again the next morning, the automatic winding system ensures that the mainspring of your watch regains its full tension during the course of the day by moving it on your wrist.
However, if your watch does not move for longer than the movement manufacturer intended, the movement will sooner or later come to a standstill. Of course, you then also have the option of winding your watch manually. To do this, move the crown back and forth between two fingers in the first crown position. You will notice that, after a few turns of the crown, winding may be a little more difficult, but there seems to be no end to it. This is not a cause for concern, but a design feature of most automatic watches. Since the rotor of an automatic watch does not stop moving even when fully wound, the movement manufacturer has taken precautions to prevent the mainspring from tearing or other damage that could be caused by continuing to wind a mainspring that has already been wound. To fully wind a Stowa automatic watch by hand, 20 - 30 turns of the crown are therefore sufficient. However, less is also fine. If the watch is then worn, the automatic mechanism will do the rest.
Once you have set the movement of your watch in motion, the next step is to set the time.
➔ Setting the time
To do this, pull the crown out to the outermost crown position, bringing the movement to a standstill. The first thing to do now is to find out whether the watch is currently showing the time for the morning or afternoon. To do this, turn the time clockwise until the date display switches to the next day. You now know when it is midnight on your watch, with a tolerance of five minutes before or after midnight. Now set the correct time using the crown and then press it against the case of your watch so that the movement resumes its work.
➔ Setting the date
Your chronograph offers you the option of correcting the displayed date by means of a quick adjustment. This is done via a third crown position, which is located between the winding position and the position for setting the time. Do not adjust the date display if a time between 9 p.m. and 3 a.m. is displayed on your watch. During this period, the movement itself is in the process of advancing the date by one day. Using the date quickset function during this period may damage the mechanism.
To set the date display to the correct date, carefully pull the crown again until you feel the first click. If you now turn the crown clockwise, the date display will advance step by step. Continue turning the crown until the correct date is reached and then push the crown back onto the case.
➔ Setting the second time zone
In the same crown position in which the date can be set, the display for the second time zone is also corrected. To do this, pull the crown back to the middle position. This time, however, the crown is turned counterclockwise. This causes the hand for the second time zone to move across the dial in hour increments. Keep turning in this direction until you have reached the time you want to display as the second time zone. Please note that the second time zone is designed as a 24-hour display and the corresponding hand therefore only makes one rotation per day. The second time zone is read off the numbers engraved on the bezel. Once you have completed your settings, press the crown back onto the case.
➔ Measure the time
With your chronograph, you also have the option of measuring and displaying time spans of up to 30 minutes.
To start a measurement, press the pusher at two o'clock and the center second hand starts moving. After every minute that has elapsed, when the second hand crosses the 12 o'clock position, the small minute display jumps forward one division mark.
If you want to pause the measurement, for example to be able to read off a stopped time exactly, press the upper pusher again. The chronograph of your watch is stopped and you can read off the minutes counted up to that point on the sub-dial at twelve o'clock. The additional seconds stopped are read off via the index lines on the edge of the dial.
Pressing the upper pusher again continues the measurement.
However, if you want to start a new measurement or simply reset the chronograph to its original position, press the lower pusher at four o'clock while the chronograph is stopped and both chronograph hands will return to their original position.
A new measurement can be started.
Instructions for Verus GMT Chronograph
Instructions for various watch straps and buckles
Shorten or lengthen the Milanese bracelet
The links with the punched arrows can be removed from the straps. Please only carry out this work with the buckle open and on a wooden surface with a hole into which you can drive the pin. Please ensure that you only remove the pin in the direction of the arrow. Take a pointed object (e.g. a 0.8 mm drill) and use a hammer to drive the pin out until the pin on the opposite side protrudes a little from the strap. Now use pliers to pull the pin completely out of the link. You should now be able to separate the links. To shorten the strap, remove an adjacent pin in the same way. You can now remove the free link from the strap. Then reattach the loose ends of the strap. To do this, use the enclosed new pin and carefully hammer it into the strap with the thinner end first and in the opposite direction to the arrow. Your strap has been successfully shortened.
Shortening the rubber strap
First open the deployment buckle on your strap. This is attached to the two strap halves with spring bars. To remove the buckle from one of the strap halves, use a pointed object to push through the hole in the deployment buckle from the outside and then remove the strap half from the buckle. Now shorten the rubber strap to the correct length using a sharp knife. When cutting, make sure there is sufficient distance to the selected hole. Then remove the pin, which serves as a placeholder, from the strap half using the pointed object and replace it with the spring bar from the cut part of the strap. Now you can reattach the half of the strap with the spring bar to the deployment buckle and try it on for the first time. If the strap is still too long, repeat the process on the other half of the strap if necessary. To fine-tune the strap length, you can choose from three spring bar positions in the buckle cover.
Fitting the deployment buckle
1. fit the short bracelet section to the buckle with the spring pin
2. loosen the screw
3. insert the long bracelet part into the buckle part
4. tighten the screw from behind
